
If you are serious about controlling how search engines interact with your website, mastering the robots.txt file is essential. This small but powerful text file tells crawlers which pages they can or cannot access — helping you protect sensitive areas and optimize your crawl budget.
In this complete guide, you’ll learn how to configure robots.txt to allow everything, disallow everything, and use it strategically for better SEO performance.
What Is Robots.txt in SEO?
A robots.txt is a plain text file located at the root of your domain (e.g., https://www.yourdomain.com/robots.txt). It provides specific crawling instructions to web robots like Googlebot, Bingbot, and other search engine crawlers.
In simple terms, it’s a set of “rules” that tells bots:
- Which pages or folders they can visit (crawl)
- Which ones they should avoid
Correct use of robots.txt ensures:
- Better crawl efficiency: Bots focus on important pages instead of wasting resources on duplicates or low-value areas.
- Improved site performance: Reduces unnecessary crawling on non-public sections.
- SEO safety: Prevents search engines from misreading your structure or blocking key scripts and styles.
Understanding Robots.txt Directives
Every robots.txt file follows a simple rule structure that uses specific directives — or commands — to communicate with web crawlers. These directives tell search engines which areas of your website they can explore and which ones are off-limits.
There are three main directives you’ll use in almost every robots.txt configuration: User-agent, Disallow, and Allow. Understanding what each one does — and how they work together — is key to preventing SEO mistakes.
1. User-agent: Identifying the Bot
The User-agent directive specifies which crawler or search engine the rule applies to. Think of it as addressing a letter — you’re telling your instructions who they’re meant for.
Here’s how it works:
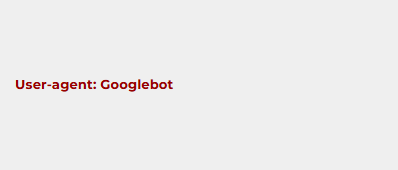
This line tells Google’s crawler to follow the rules that come after it.
If you want the rule to apply to all crawlers — Googlebot, Bingbot, AhrefsBot, SemrushBot, and so on — you can use an asterisk (*):

This wildcard symbol means “these instructions apply to every bot that visits my site.”
You can also create specific rules for different bots. For example:
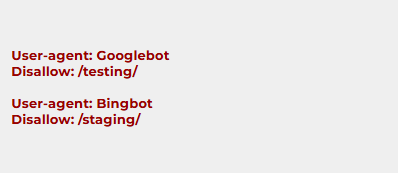
In this case, Google is blocked from crawling /testing/ while Bing is blocked from /staging/. This flexibility is useful if you want to limit certain crawlers without affecting others — for instance, allowing Google to index your site fully while keeping lesser-known or aggressive bots out.
2. Disallow: Blocking Access to Specific Paths
The Disallow directive tells crawlers which parts of your site they are not allowed to crawl.
Syntax example:

This prevents bots from accessing everything within the /private/ directory.
If you use a single forward slash (/) like this:

you’re blocking the entire website — meaning no crawler can access any page or resource. This is often used on development sites, staging servers, or temporary pages that you don’t want showing up in search results.
On the other hand, if you leave the line blank:

it means “no restrictions” — bots are free to crawl everything.
Important SEO Note:
The Disallow: rule only prevents crawling, not indexing. If another site links to a blocked page, Google may still index its URL, but without showing its content or description. To fully hide a page from search results, you will need to add a noindex meta tag or use password protection.
3. Allow: Granting Exceptions to a Rule
The Allow directive is particularly helpful when you want to block a broader directory but make exceptions for certain files or pages within it.

This setup blocks access to everything inside /private/, except for the file public-info.html.
The Allow directive is primarily used by Googlebot and a few other modern crawlers that recognize it. While not officially supported by every search engine, it’s widely accepted and recommended for fine-tuning crawl control.
Pro Tip:
Order matters — always list your Allow directives after the related Disallow ones. This ensures search engines interpret your file correctly.
Bonus: Other Optional Directives
Although the three above are the most common, you might encounter or use other directives to enhance your robots.txt file:
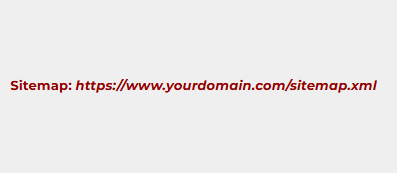
- Sitemap: Points search engines to your XML sitemap for easier discovery.
- Crawl-delay: Controls how long bots should wait between requests (useful for managing server load).

(Note: Googlebot doesn’t support this directive — instead, adjust crawl rate in Google Search Console.)
- Host: Tells crawlers which domain to prioritize if you have multiple mirrors or subdomains.

These directives help make your robots.txt file more advanced and SEO-friendly, especially for large websites or multilingual setups.
Putting It All Together
Here’s a complete example of a robots.txt file that uses multiple directives effectively:
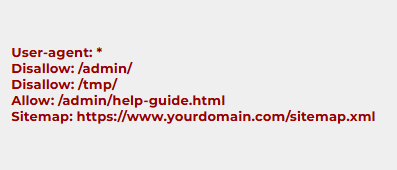
What this means:
- All crawlers are blocked from
/admin/and/tmp/ - Exception made for
/admin/help-guide.html - Sitemap provided for better discovery
This balanced configuration gives you precise control — keeping private sections hidden while ensuring that important content remains visible to search engines.
Key Takeaways
User-agent:defines who the rule applies to.Disallow:defines what should be blocked.Allow:defines exceptions to blocked areas.Sitemap:helps crawlers discover your content faster.- Robots.txt manages crawling, not indexing — always remember this difference.
By mastering these directives, you can fine-tune how search engines interact with your website — protecting sensitive areas, improving crawl efficiency, and strengthening your SEO foundation.
Curious About SEO? Contact Us Now for a Free Website Audit!